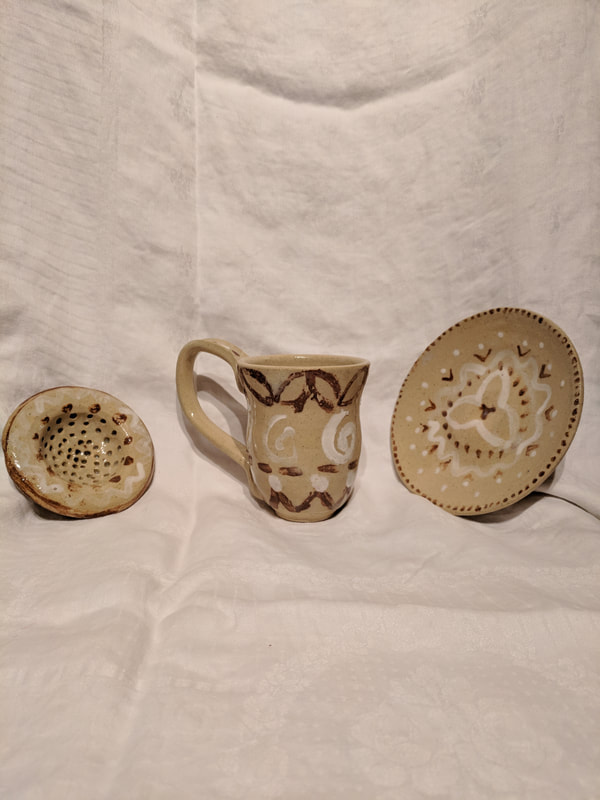
 This my mug, plate, and tea strainer painted with clay slip for my "set of three" project assignment.After brushing on the designs with red and porcelain slip, I covered all of the projects with clear glaze. With this project, I developed my skill of using clay to color projects. On all three of these pieces, I used line and shape to create unique patterns that gave a sense
0 Comments
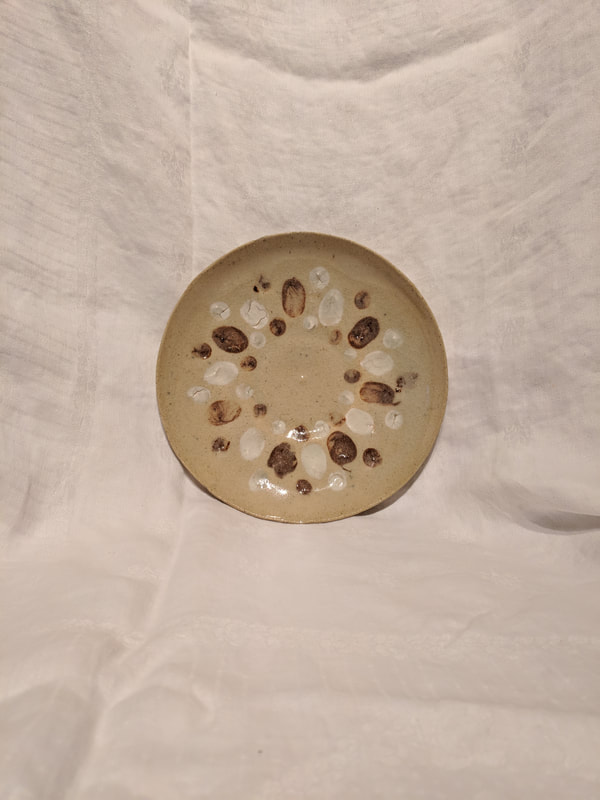 This is my small, 5 inch diameter plate with small depressions I made with my fingertips. After the plate had been through the bisque, I painted the depression with slips made from Vashon red clay and dove porcelain. I finished by covering the project with clear glaze for the glossy finish. In making this plate, I learned how to use clay as glaze. The color of the slip and the space around them create a fun pattern with movement across the plate.
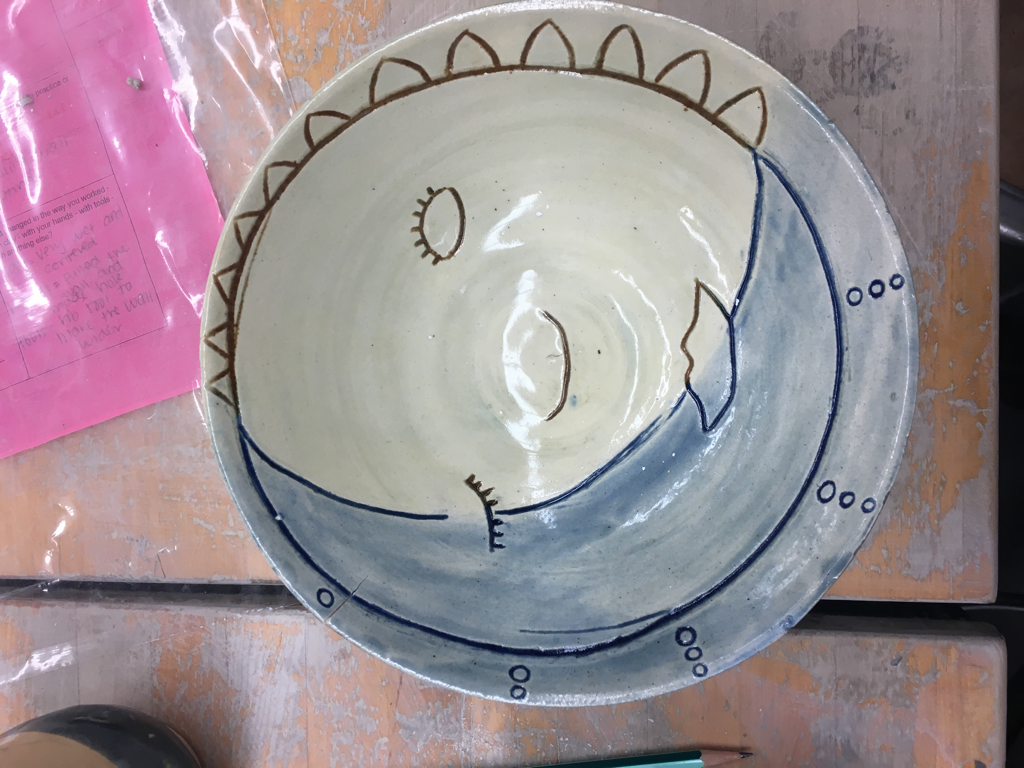 This is my sun and moon large bowl which is about 6 inches wide and four inches tall.
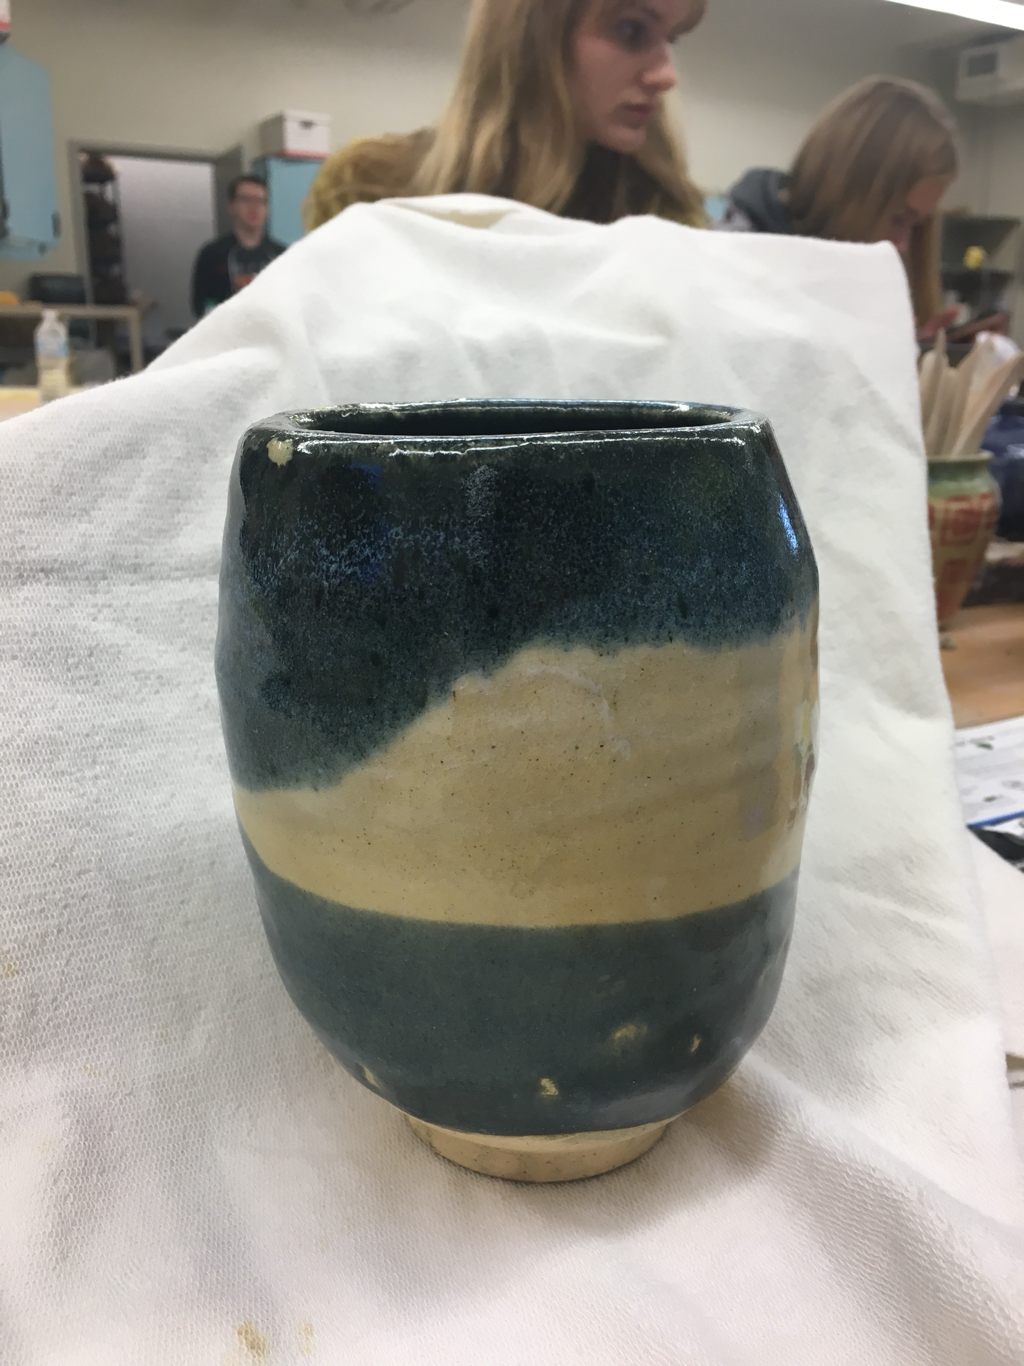 This is my groups six inch tall frankenpot, glazed with dark blue and clear. On the wheel, I threw the base, while Jacob did the middle and Sami the top. With this project, I learned how to attach projects together on the wheel. The different values of the blue glaze and the clays hue creates contrast in the project. I think this frankenpot represents something new and different accomplished a s a team, which none of us could have created on our own.
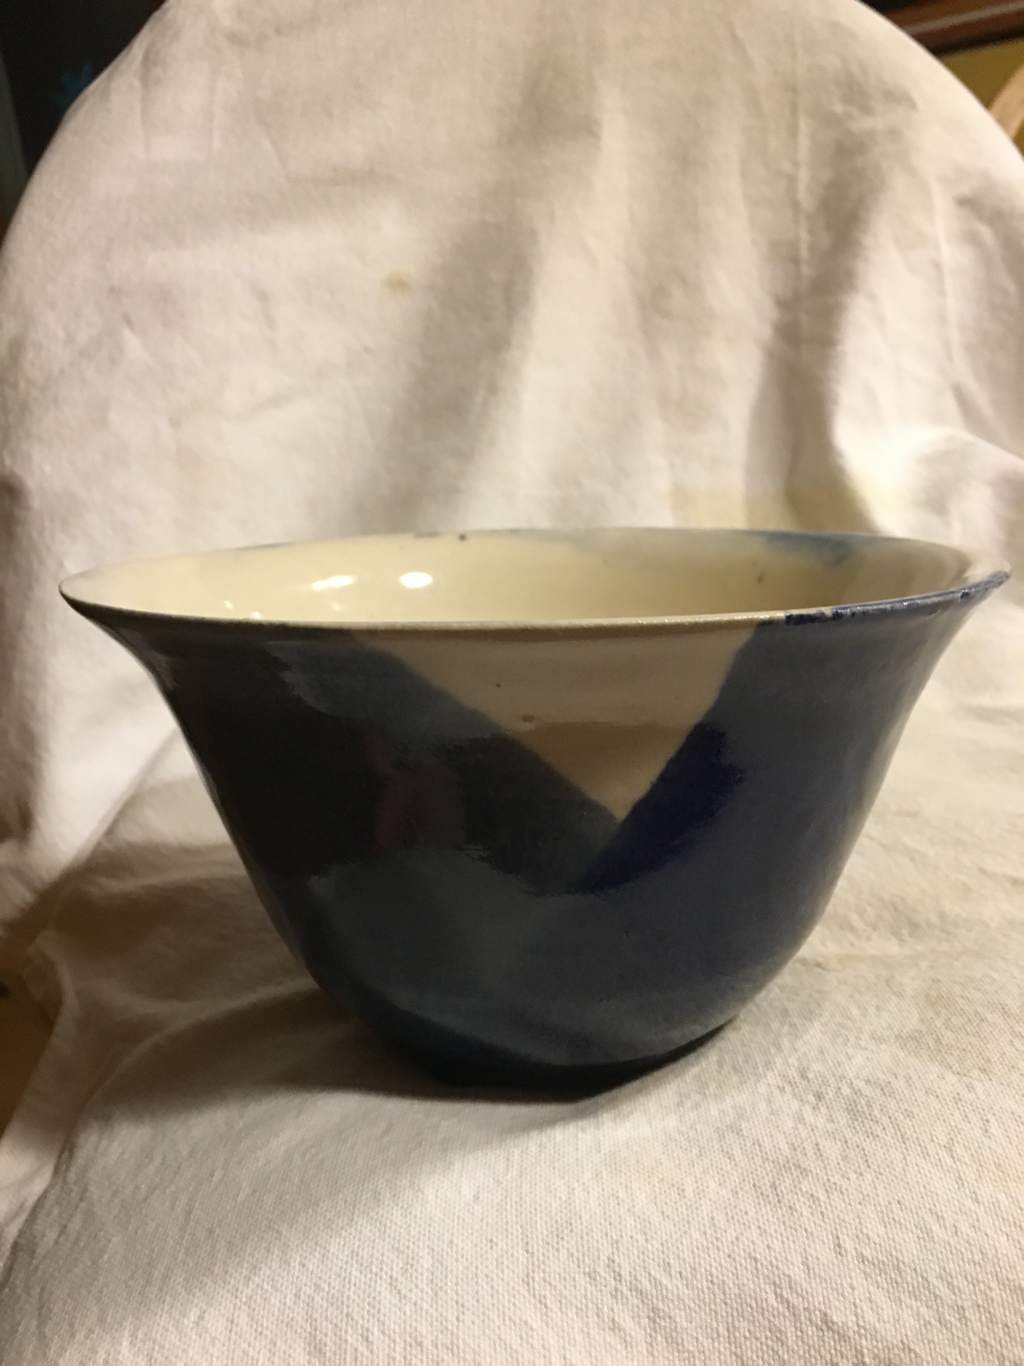 This is my first large bowl project, about 5 inches tall and 5.5 inches wide. I glazed this by dipping the side of the bowl into the buckets of glaze to try to get a silhoutte, and I used dark blue and light blue glaze. I covered the rest of the project in clear glaze. With this project, I learned more about how to manipulate glazes to accent certain aspects of the project. The shapes of the blue glazes on the project help accentuate the form of the overall bowl. When I look at this bowl, I am reminded of the different hues of blue on sunny days over a beach or lake, and how the colors interact with each other.
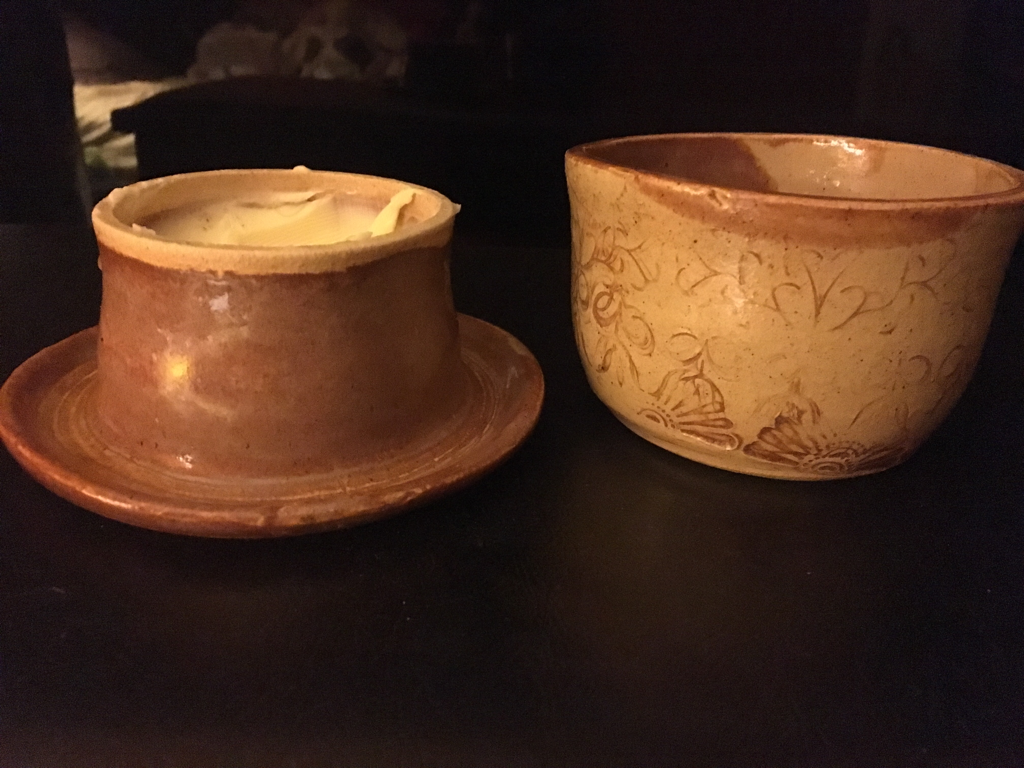 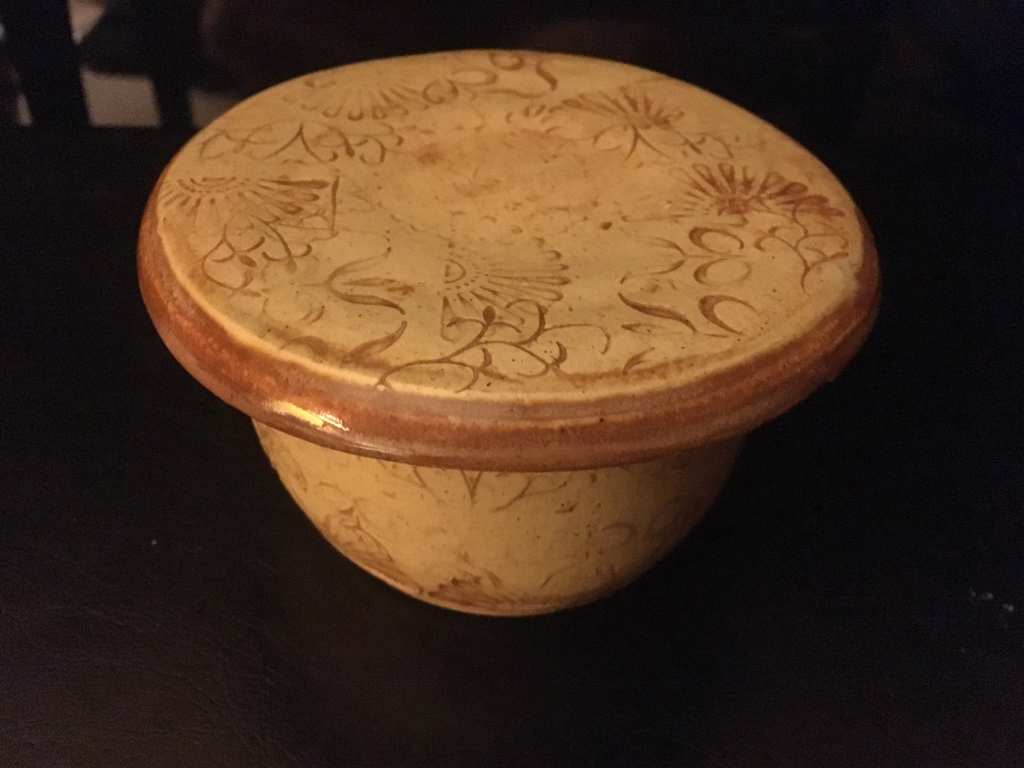 This is my four inch tall, five inch wide choice butter wheel. I glazed this project by brushing on orange glaze with a bamboo brush over designs in the clay I made with a stamping tool, and then wiping off the excess to define the patterns. After doing that, I also covered the project in clear glaze. With this project, I learned how to throw larger planter/lid shapes and how to work with projects with thin bases. The patterns on the top and side of the butter wheel create a lot of movement for the eye to follow. This project expresses a sense of earthy stability and balance.
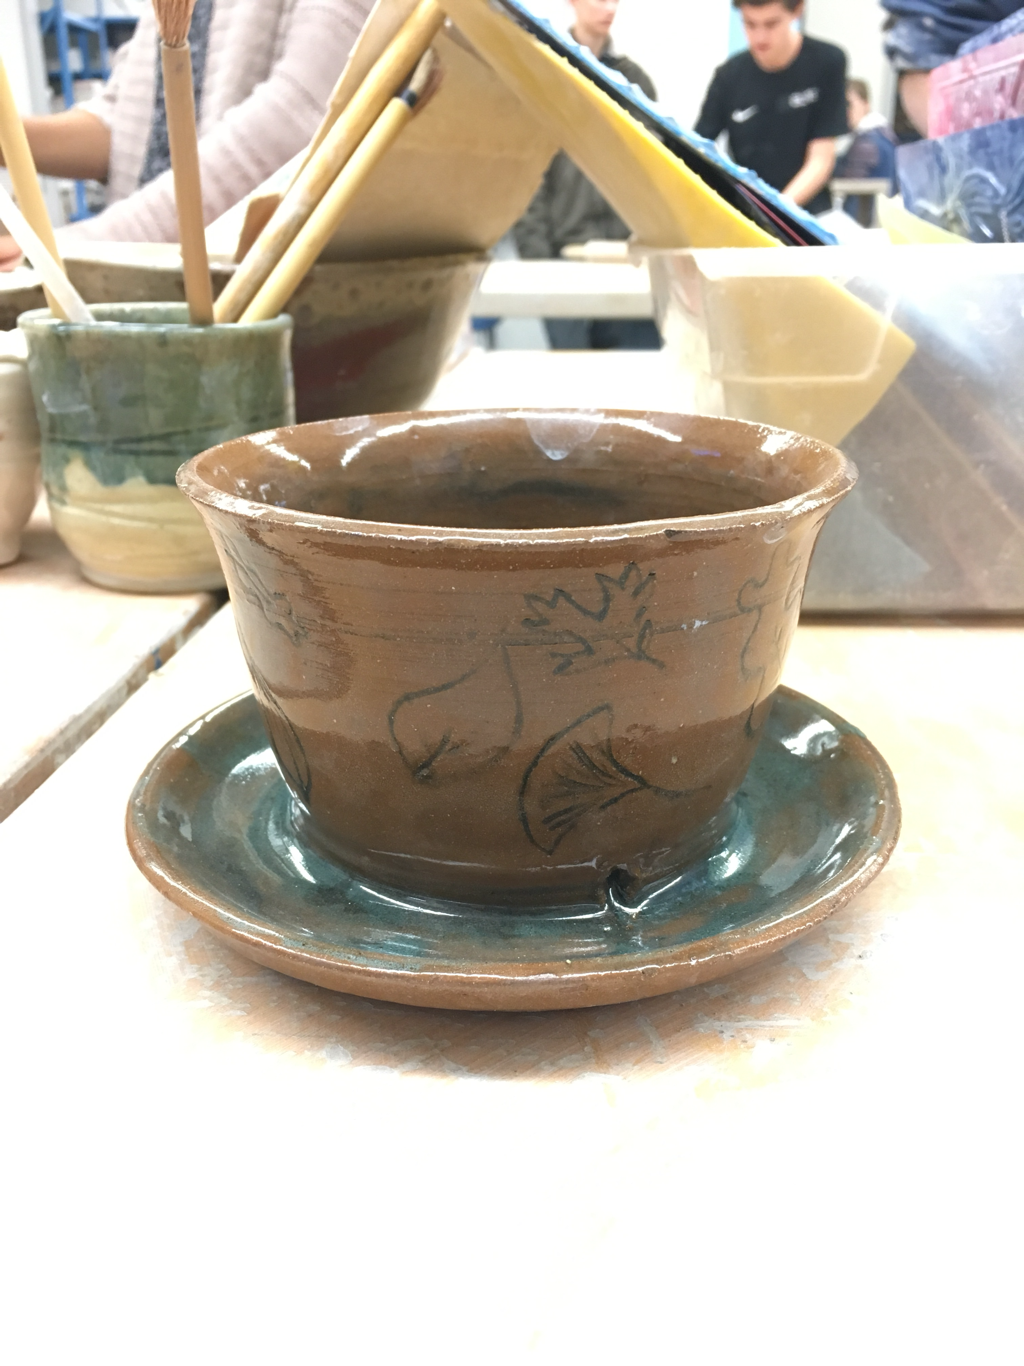 This is my small planter, about 5 inches wide and 4.5 inches tall. I glazed this planted by brushing scrap glaze over the leaf etchings, and then scrubbing the excess to uncover the green shape of the leaf. I also brushed scrap glaze along the inside of the base rim and the inside of the pot. During this project I learned that it is much better to do your best wth glazing on the first try, rather than having to go back and put glaze over glaze and refire it- t took me several times through the glaze kiln with scrap glaze to get the depth of green where I wanted it. The line and color of green on the leaf etchings and the base of the planter establish proportion and unity in the project. I hope that this planter reminds one of nature and the power of plants.
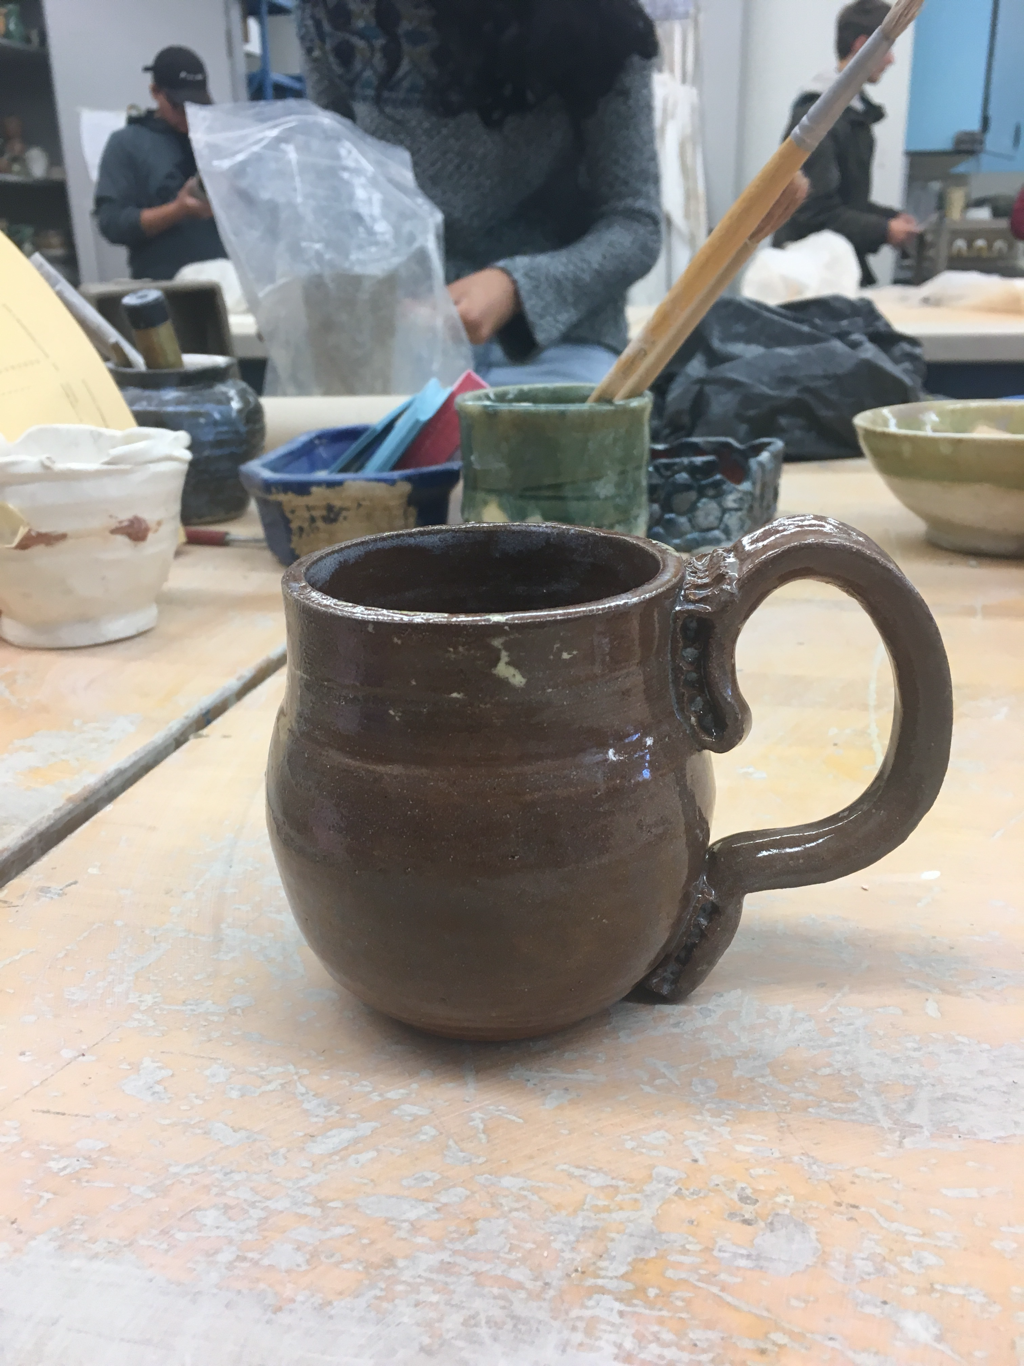 This is my brown clay mug with a large pulled handle. It was glazed by adding sand glaze detail to the groves by covering and scrubbing, and then dipping into clear glaze. With this project, I learned more about mixing clay types during throwing, and that to get the best color variation you need to mix in a white clay along with the brown. The form and space of the cup, defined by its silhouette and the handle, create a nice sense of balance and harmony. When viewing this mug, one might find themselves reminded of the great rocky spectacles of the earth: the Grand Canyon, the Rocky Mountains, and so on.
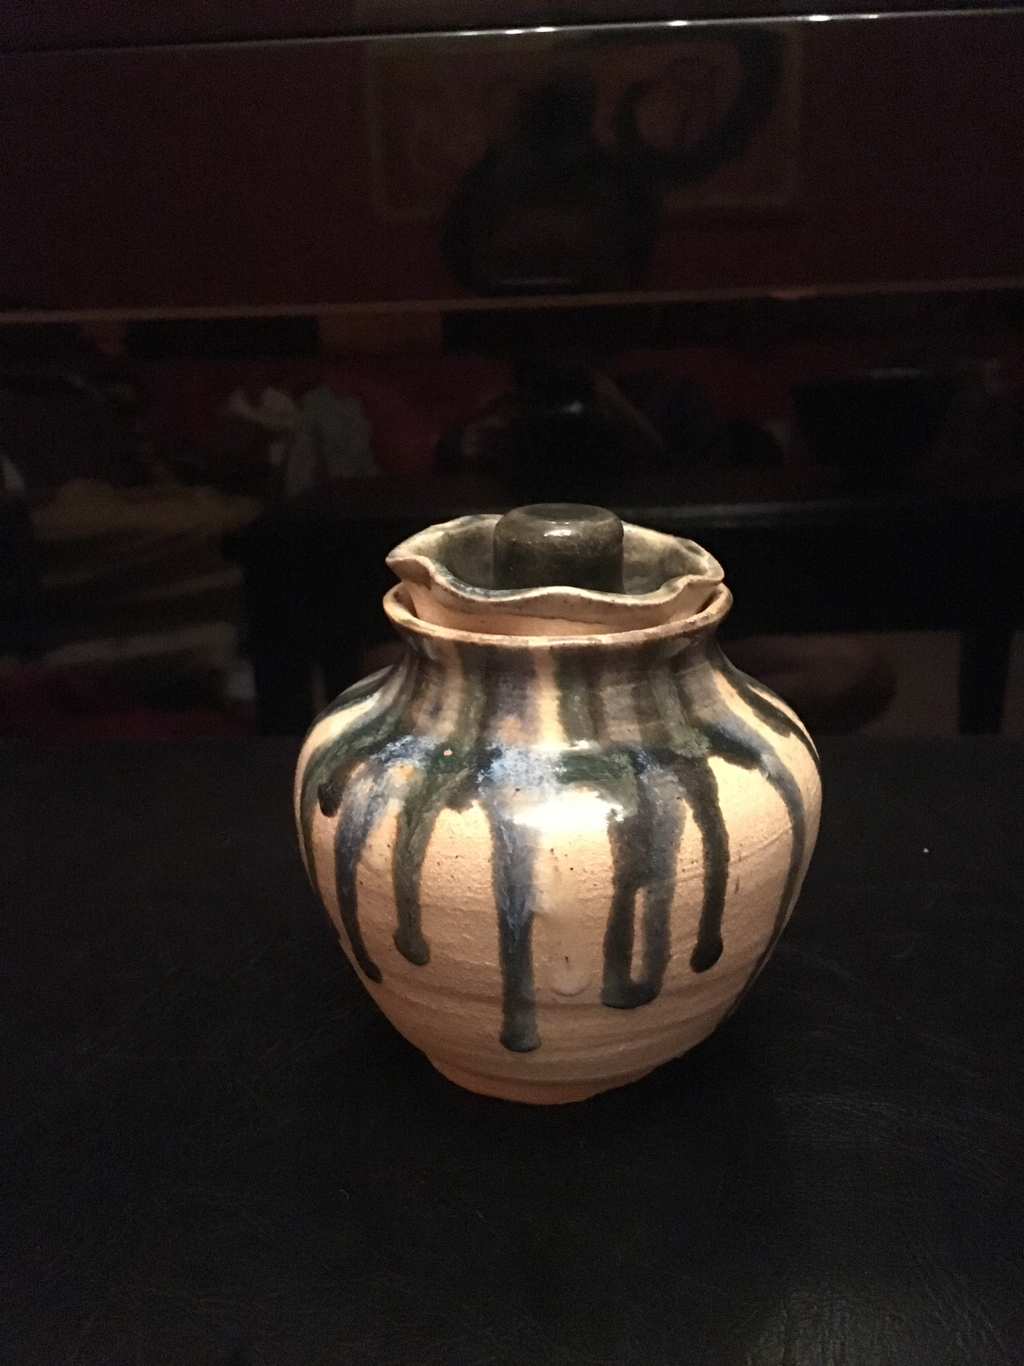 This is my small, drippy lidded project. My glazing on this was exploratory, but overall I love the effect of dripping the white, blue, cobalt, forest green, and scrap green glazes down the side of the pot, and leave the rest of the surface unglazed. With this project, I learned more about how to manipulate glazes with some of the tools in the glazing room, such as droppers, to get a desired affect. The texture and color due to this glazing add a fun sense of contrast and movement on the pot.
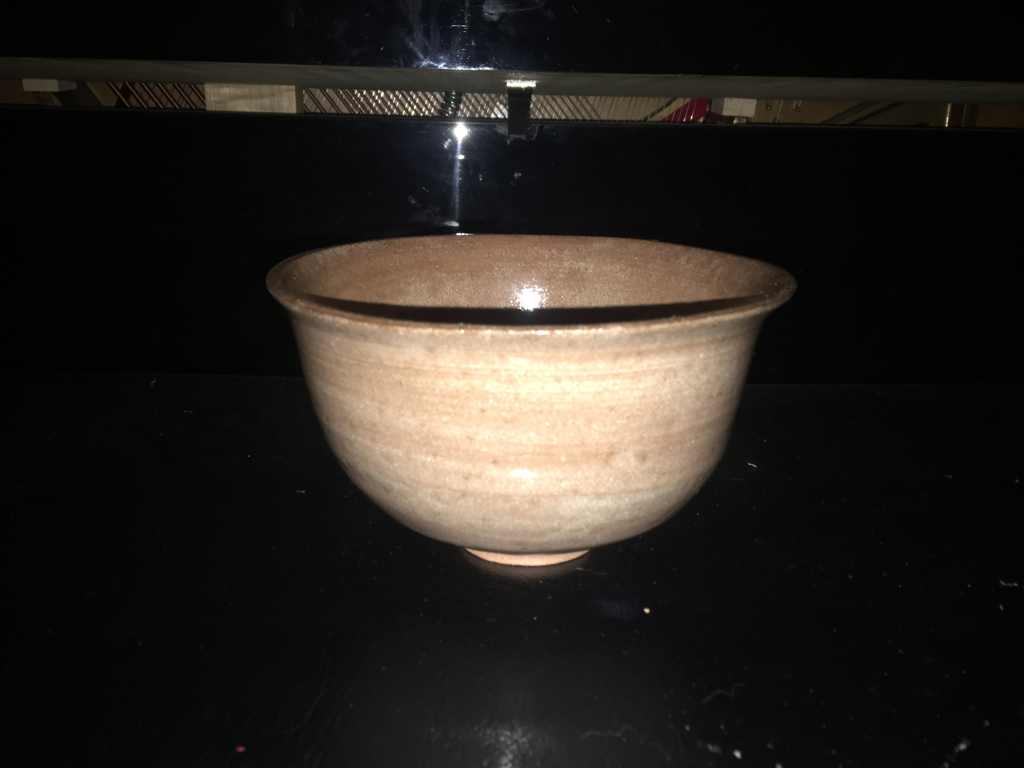 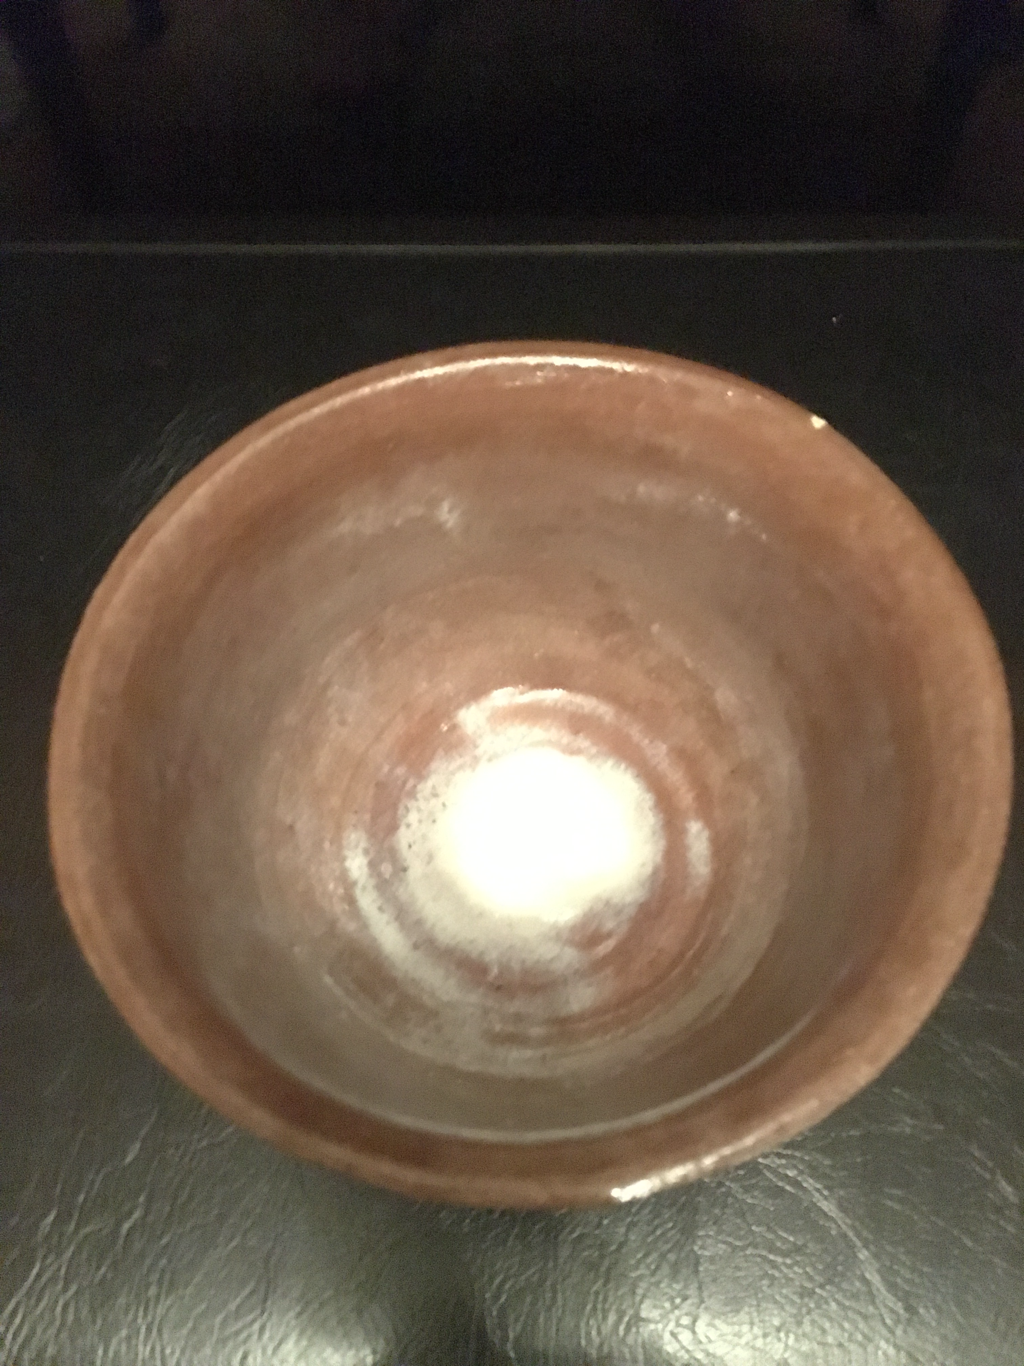 This is my second bowl project, thrown with yellow clay, about 4.5 inches tall and 4 inches wide. It was glazed with clear glaze on the outside, and white glazed sponged on in layers on the inside. With this project, I practiced reglazing projects after they have gone through the glaze kiln, and also with footing projects and developing the shoulder. The form and space in the silloutte of the bowl gives it a fun degree of movement. I like this project because of its simplicity, and how it draws focus to the natural colors and textures of the clay.
|
AuthorWrite something about yourself. No need to be fancy, just an overview. Archives
January 2018
Categories |
 RSS Feed
